This document teaches how to use the Task Allocation Wizard to install a plug-in onto the client device via Xcalibur Global.
The method taught is based on the following steps:
Select the client device
Install the plug-in
Applicable Product Version
Xcalibur Global Version 1.1 Rev. 2
Procedure
Select the Client Device
The Site in our example is Paris
The IP Scope in our example is Test 200-225
Launch the Xcalibur Global Management Console: From the Task Bar select: Start \ Programs \ Xcalibur Global 1.1 \ Management Console
Expand the path: Xcalibur Farm Manager \ Sites \ <Site Name> \ IP Scopes \ <IP Scope Name>
Select a client device from the list of devices in the IP Scope.
Install the Plug-in
The plug-in in our example is UltraVNC
Right-click on the client device to display a drop-down menu.
From the drop-down menu, select All Tasks\ Task Allocation Wizard…
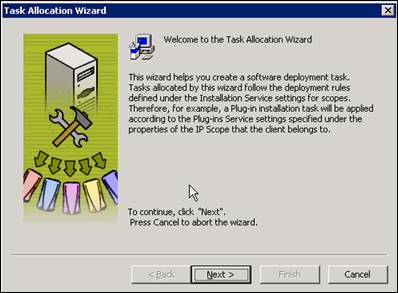
The Task allocation Wizard screen appears.
Click Next to open the following Task allocation Wizard screen.
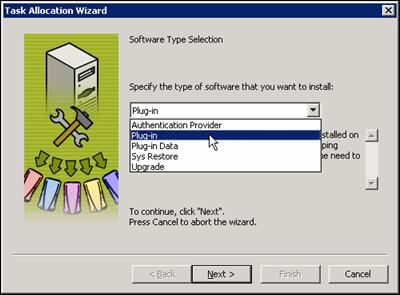
From the drop-down list, select the software type to be installed (in this case Plug-in).
Click Next to open the following Task allocation Wizard screen.
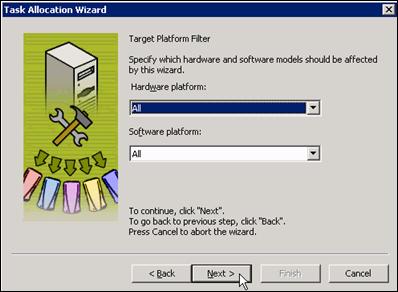
Click Next to open the following Task allocation Wizard screen.
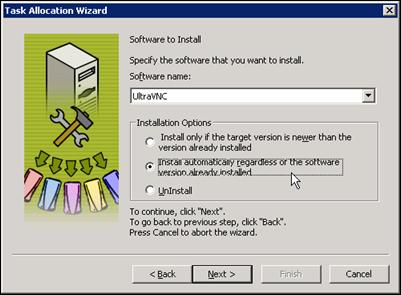
Select the desired plug-in (In our example UltraVNC) from the Software name drop-down list
Select the desired option from Installation Options.
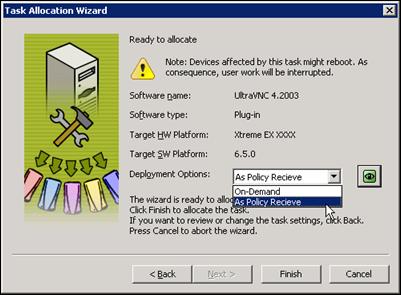
Click Next to open the following Task allocation Wizard screen.
Select the desired option from the Deployment Options drop-down list.
Click Finish to return to the Xcalibur Global Management Console screen. Note: An event logger window will appear at the top left screen corner. The logger screen disappears when the installation task has completed.
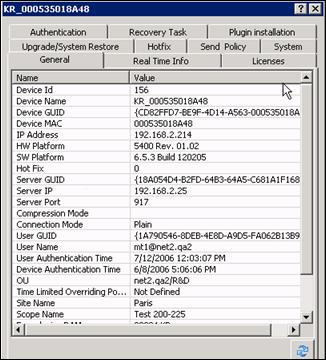
Double-click on the device to open the device properties screen.
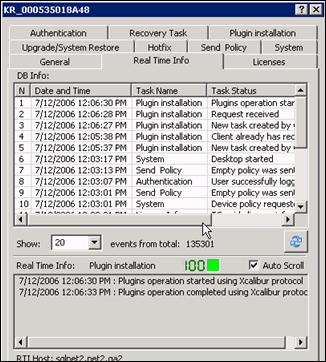
Select the Real Time Info tab to open the Real Time Info tab screen and monitor the client device.
Scroll sideways to view the installation details and watch the bottom screen field filled with the installation process.
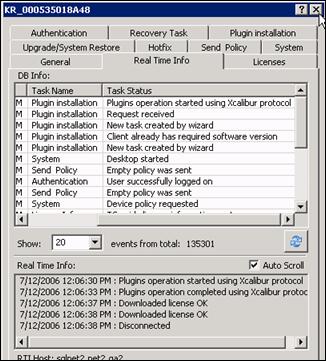
View the bottom field detailing the end of the process status.
When the installation process is finished, click the refresh button ( ) to view updated information relating to the installation process.
Close the client device properties screen to return to the Xcalibur Global Management Console screen.
Conclusion
Xcalibur Global has used the Task Allocation Wizard to install a plug-in.