How to Modify the Display Resolution on a Local Device
Objectives
This document teaches how to modify the display resolution on a local device
The method taught is based on the following steps:
- Access the display resolution settings on a client device
- Modify the display resolution
- Restart the client device
Applicable Product Version
- Chip PC thin client device firmware Version 6.5.3
Procedure
Access the Display Resolution Settings on the Client Device
- From the Task Bar select: Start \ Settings \ Device
The WBT Configuration screen will appear.
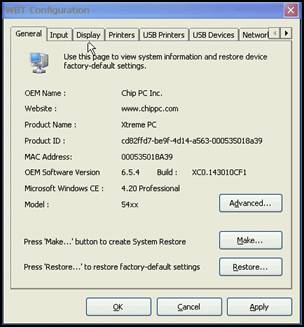
- Select the Display tab to access the display resolution settings.
Modify the Display Resolution
- The following screen appears
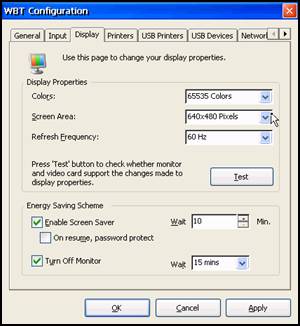
- Select the desired number of colors from the Colors drop-down menu.
- Select the desired resolution from the Screen Area drop-down menu.
- Select the desire frequency from the Refresh Frequency drop-down menu.
- Click the Test button to open the Test Mode screen.
- The following Test Mode screen will appear:
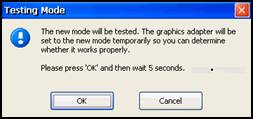
- Click OK to view a test image in the new resolution followed by the following Testing Mode screen.
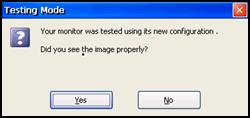
- Click the Yes button to return to WBT Configuration screen.
- Click the OK button to close the WBT Configuration screen.
Restart the Client Device
- The following Settings Changed screen appears:
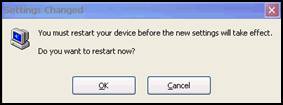
- Click OK to restart the device and apply the new settings.
- Wait for the reboot process to complete.
Process Outcome
- The local device display resolution has now been successfully modified.
Movie: