This document teaches how to use Xcalibur Global to set Host Entries.
The method taught is based on the following steps:
Select the OU Containing the target device
Create an Xcalibur Policy that is linked to the selected OU
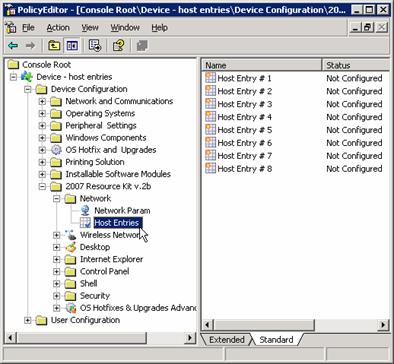
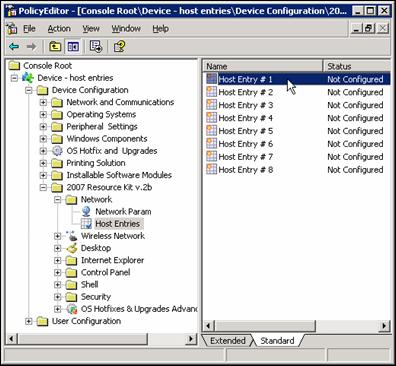
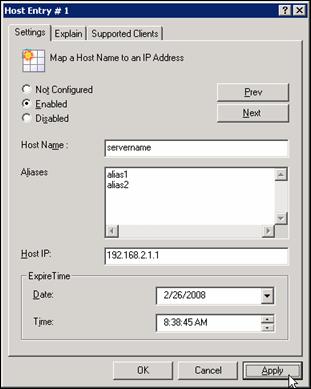
Configure the Xcalibur Policy to set Host Entries
Applicable Product Version:
Xcalibur Global Version 1.1 Rev. 2
2007 Resource Kit v.2 + SP4
Chip PC Thin Client Firmware version 6.5.5
Procedure:
Select the OU containing the target device:
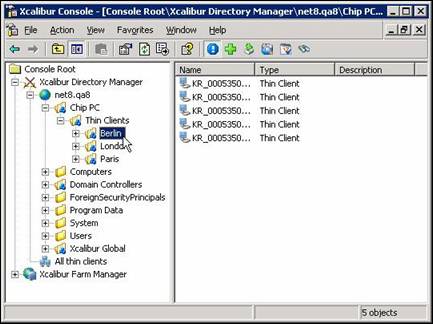
The OU in our example is: Berlin
The Domain in our example is: net8.qa8
Launch the Xcalibur Global Management Console. From the Task Bar select: Start \ Programs \ Xcalibur Global 1.1 \ Management Console
Expand the folders containing the target OU. In this example expand: Xcalibur Directory Manager \ net8.qa8 \ Chip PC \ Thin Clients
Select the OU Berlin.
Create an Xcalibur Policy that is Linked to the Selected OU
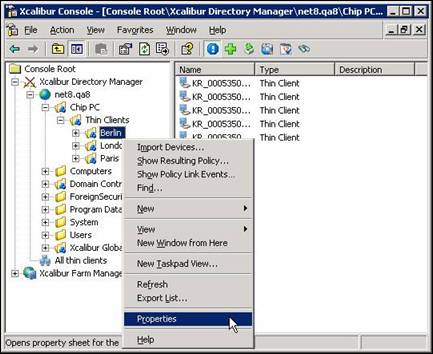
Right-click on the target OU (In this example Berlin) to display the following drop-down menu:
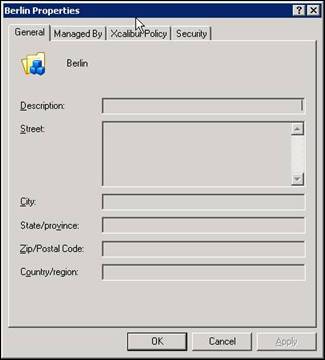
Select Properties from the drop-down menu to display the OU properties screen. A screen titled <OU Name> Properties appears:
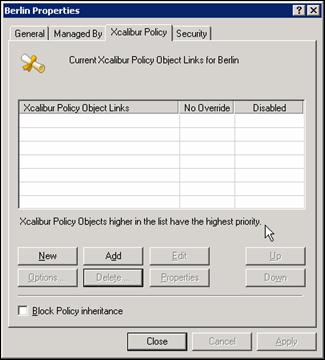
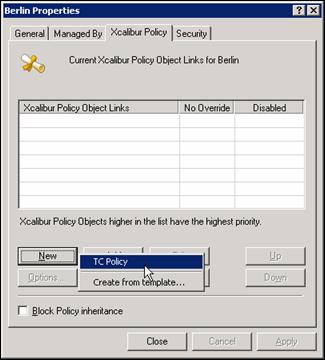
Select the Xcalibur Policy tab. The following screen appears:
Click the New button and select TC Policy from the drop-down menu to create a New Xcalibur Policy Object that will appear in the Xcalibur Policy Object Links column.
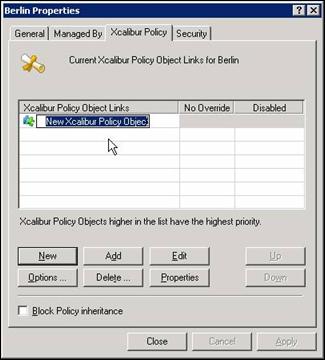
The following screen appears:
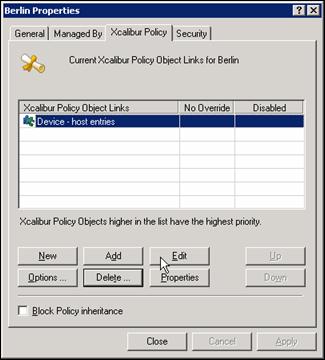
Enter the name of the new policy and press Enter. In this example the name is: Device - host entries.