How to Set the NetBIOS Name Using a Script via Xcalibur Global
Objectives
This document teaches how to use Xcalibur Global to set the client device NetBIOS name using a script.
The method taught is based on the following steps:
- Select the OU containing the target device
- Create an Xcalibur Policy that is linked to the selected OU
- Configure the Xcalibur Policy to set the client device NetBIOS name using a script.
Note:
All tasks performed on the OU level can also be performed on the domain or on the device level.
Applicable Product Version
Xcalibur Global Version 1.1 Rev. 2
Procedure
Select the OU containing the target device
- The OU in our example is US.
- The Domain in our example is net8.qa8.
- Launch the Xcalibur Global Management Console:
From the Task Bar select:
Start \ Programs \ Xcalibur Global 1.1 \ Management Console. - Locate the OU US:
Expand the path: Xcalibur Directory Manager \ net8.qa8 \ Xcalibur Global \ Thin Clients.
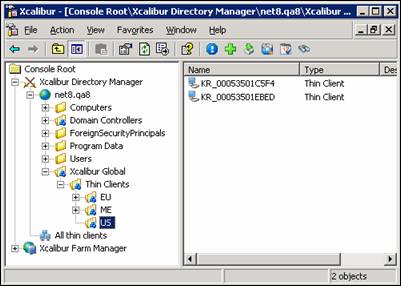
- Select the OU US.
Create an Xcalibur Policy that is linked to the selected OU
- Right-click on the OU (US) to display the following drop-down menu:
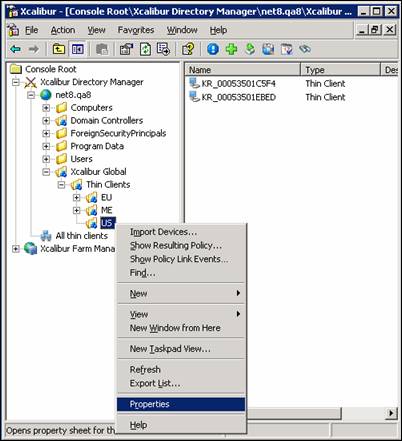
- Select Properties from the drop-down menu to display the OU properties screen.
- A Window <OU Name> Properties will appear.
- Select the Xcalibur Policy tab.
- In the Xcalibur Policy tab, click the New button and select TC Policy from the drop-down menu to create a New Xcalibur Policy Object that will appear in the Xcalibur Policy Object Links column.
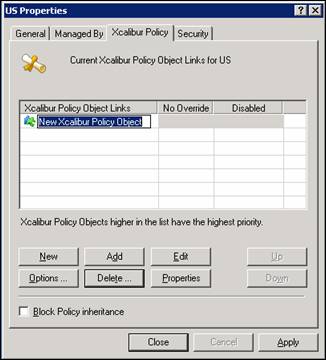
- Enter a new name for the policy. In this example we will be using the name Device – NetBIOS Script Name. Press Enter.
Configure the Xcalibur Policy to set the client device NetBIOS name using a script
- Select the Xcalibur Policy.
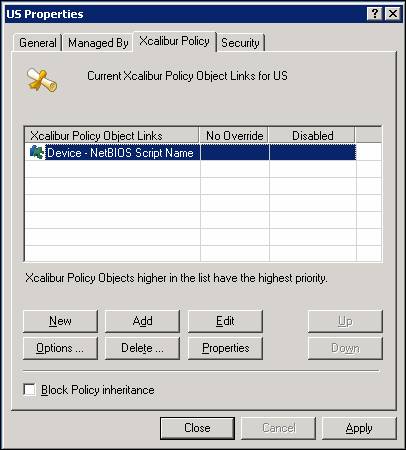
- Click Edit to open the Policy Editor.
Expand the following Policy Branch:
<policy name> \ Device Configuration \ Peripheral Settings \ Network
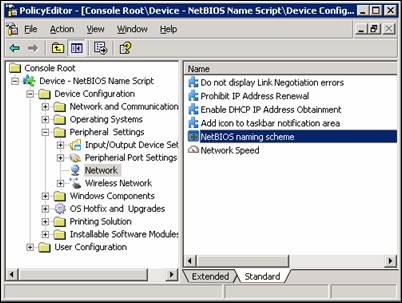
- Select Network and double-click on NetBIOS naming Scheme to open the NetBIOS naming Scheme screen.
- Select Enabled.
- Select the checkbox next to the Script option.
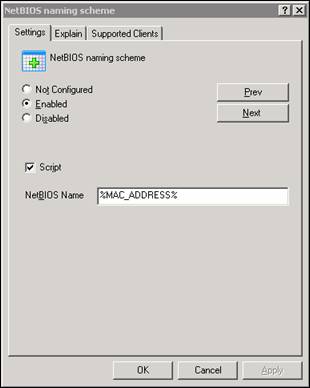
- Enter a Script into the NetBIOS Name field. The topic of script types, their syntax and implementation will be covered in the next section.
- Click OK to return to the Policy Editor screen.
- Close the Policy Editor screen to return to the OU properties screen.
- Click Close to return to the Xcalibur Global Management Console screen.
NetBIOS Name Scripts
There are three types of NetBIOS name scripts as described in the following table:
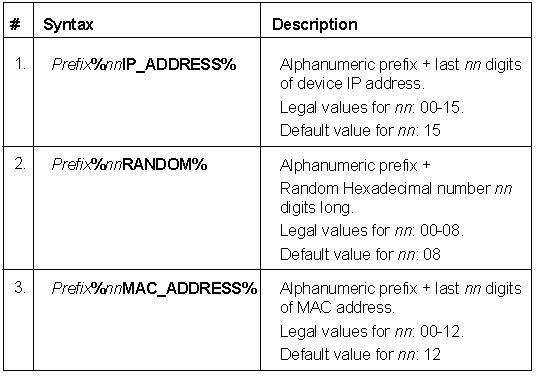
General syntax rules for NetBIOS name scripts
- The generated NetBIOS name can never contain more than 15 characters due to the NetBIOS name inherent limitations. Any character script that generates a NetBIOS name with more than 15 characters will have the excessive characters truncated.
- The Prefix may be omitted.
- The variable nn must always appear as a dual digit number even when the value is less than 10, example 04, 08 etc.
- The variable nn may be omitted.
- If the variable nn receives an illegal value or if the variable is omitted, the default value is used.
Examples for using NetBIOS name scripts
The following table illustrates the usage of the different script types and the resulting NetBIOS name:

Conclusion
- Xcalibur Global now has a policy that sets the client device NetBIOS name using a script.
- The policy is linked to the OU that was selected.
- The policy will affect all devices within the OU and any child OUs (as long a there are no restrictions on policy inheritance).